GMOD
AWS walkthrough
This is a click-by-click walkthrough of how to get a GMOD machine image up and running using Amazon’s cloud services.
Contents
- 1 Registering on Amazon
- 2 Amazon Web Services: Registration
- 3 Credit Where Credit’s Due
- 4 Your First Instance
- 5 Working in the Cloud
- 6 Leaving the Cloud
Registering on Amazon
Amazon Web Services: Registration
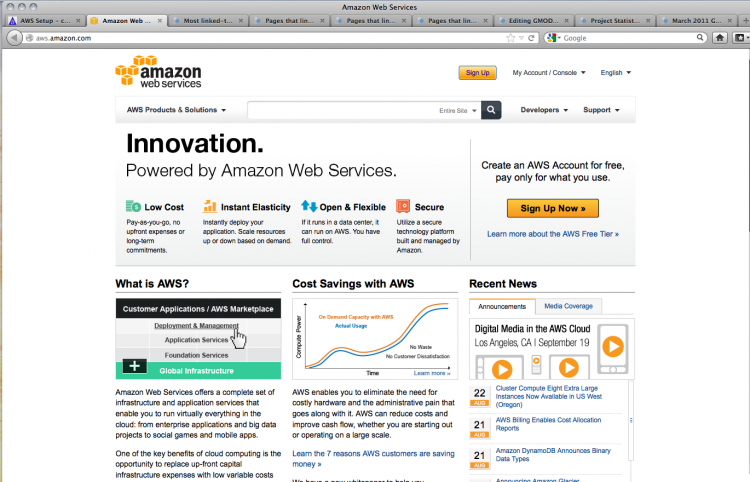
Start off at aws.amazon.com
Log in with your regular Amazon account (if you don’t have an Amazon account, you’ll need to create one)
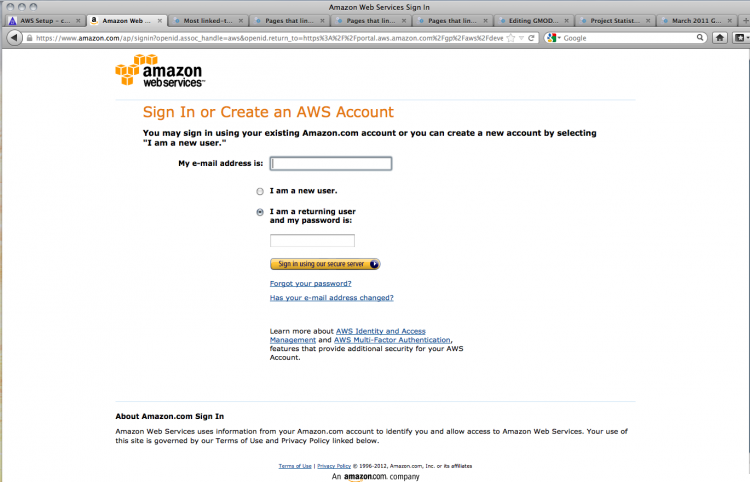
Theoretically Amazon already knows this stuff, but you have to enter it all again…

You’ll need to enter your credit card information to pay for your cloud usage; GMOD has a grant from AWS to allow users a certain amount of compute credit.
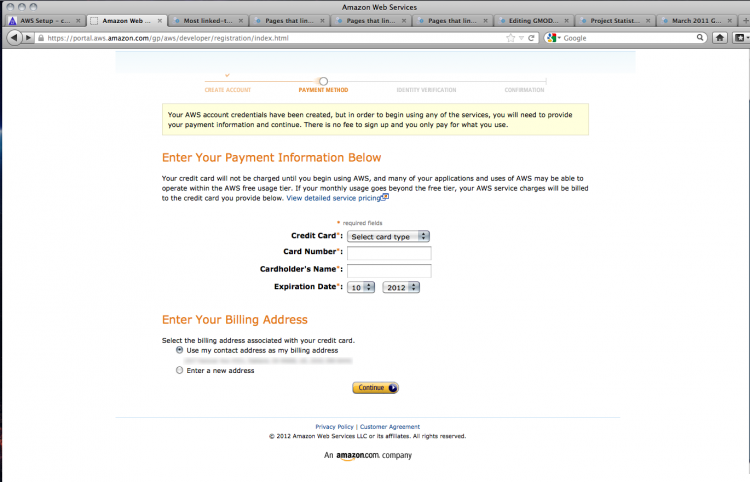
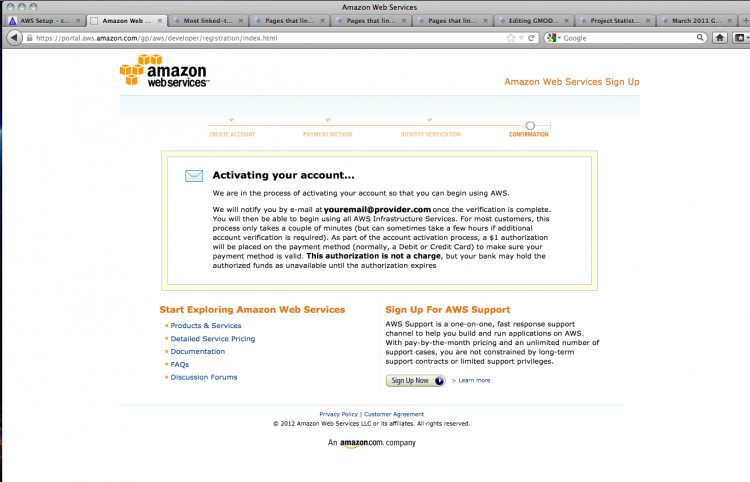
Amazon’s billing system requires phone verification. Once you have done this, you’ll get this confirmation screen:
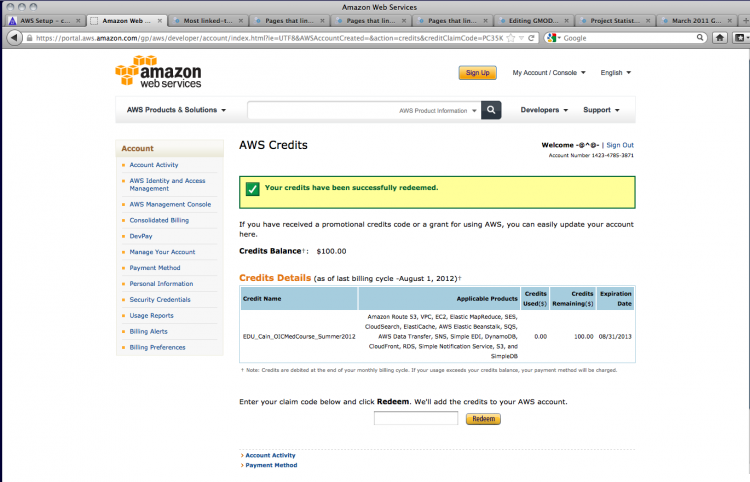
Credit Where Credit’s Due
If you have a voucher for free compute credit, you can apply it at http://aws.amazon.com/awscredits.
Your First Instance
Launch an Instance
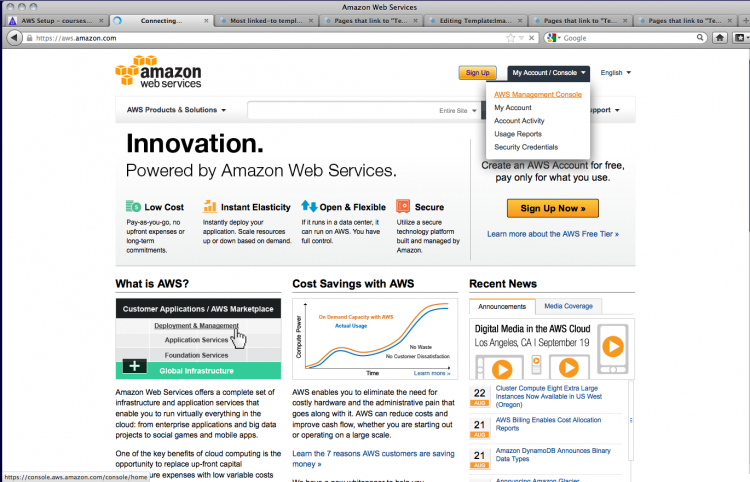
Return to the AWS home page (confusingly, the “sign up” link is still present and there’s no indication that you’re logged in). Select the AWS Management Console link under My Account/Console.
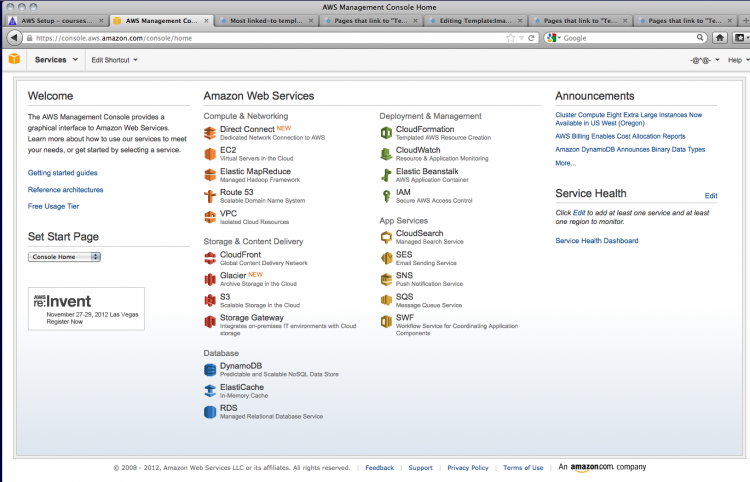
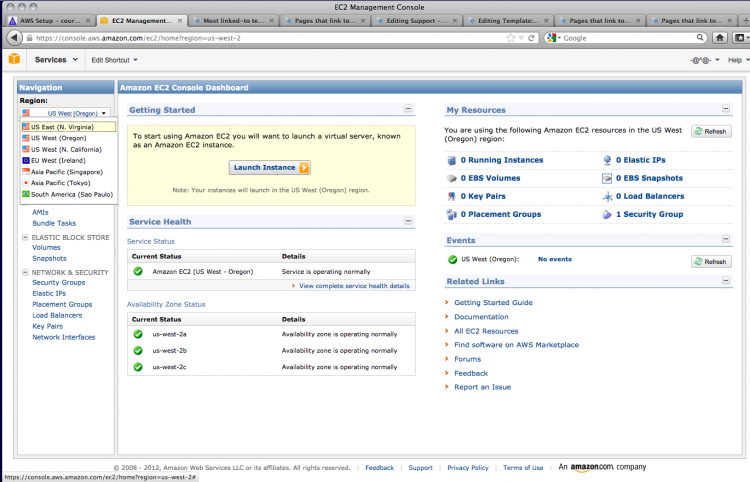
This takes you to the console. Click on EC2 to access cloud computing services.
At present, GMOD in the Cloud 1.3 is only available in the US East area. You may need to change the setting in the Navigation section on the left.
Once you have set the region, you can search for the AMI you want.
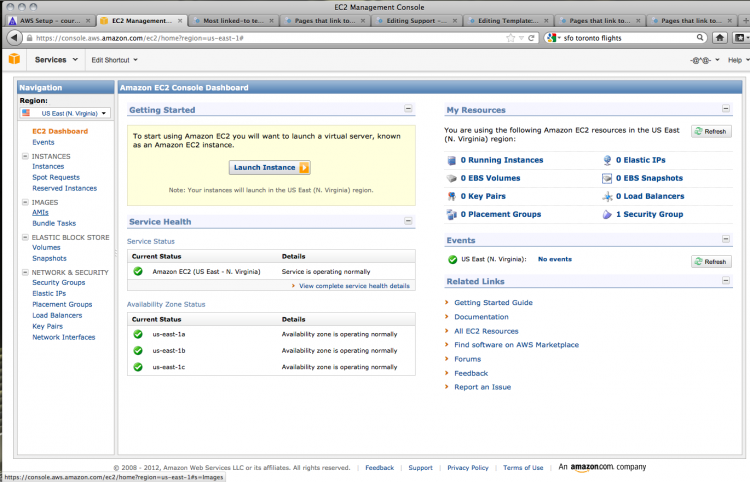
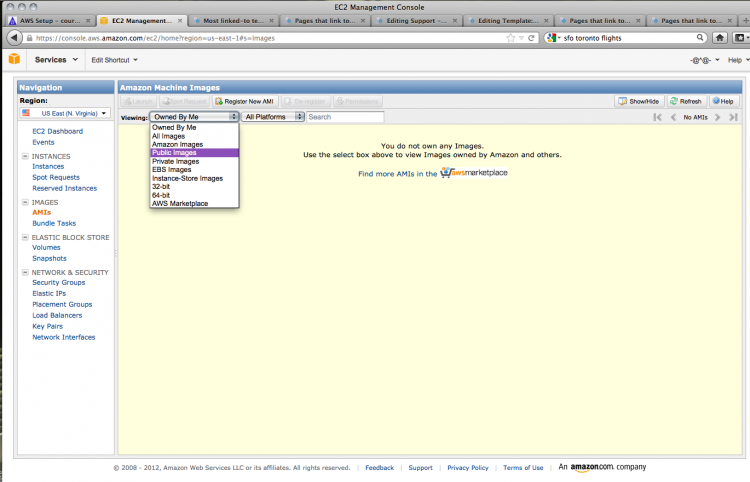
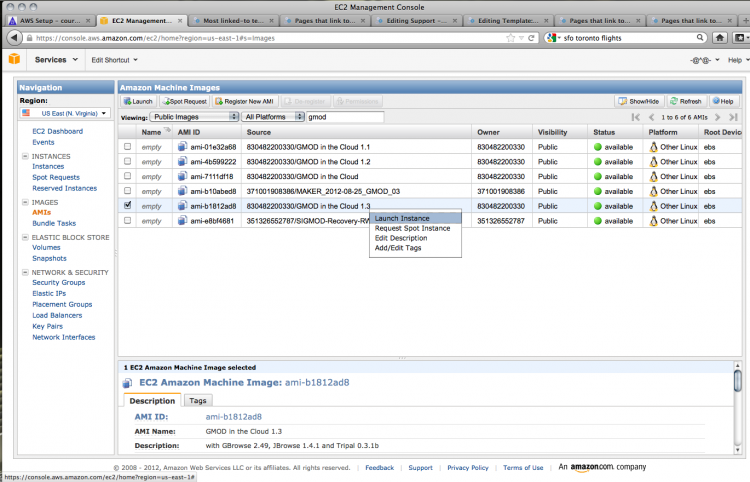
Click on AMIs in the left-hand menu to view or search for Amazon Machine Images, AMIs. You can find the GMOD image by searching public images.
A search for gmod brings up a number of AMIs; choose the most recent GMOD in the Cloud image (1.3 as of August 2012).
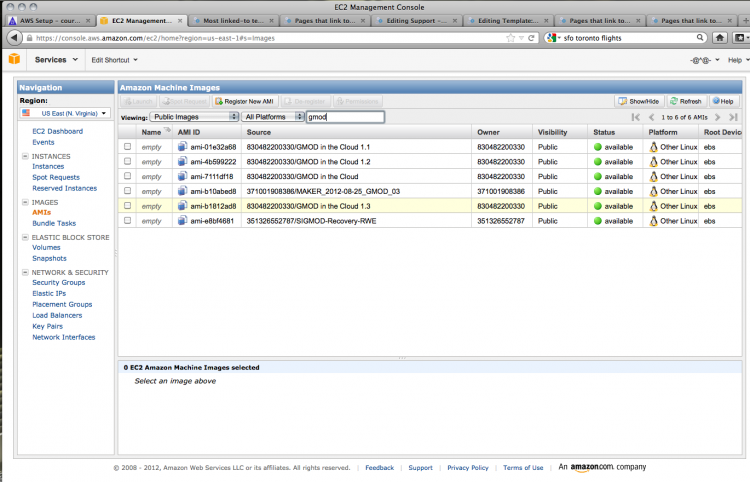
Right-clicking on the AMI of your choice brings up a contextual menu; choose Launch Instance to create your instance.
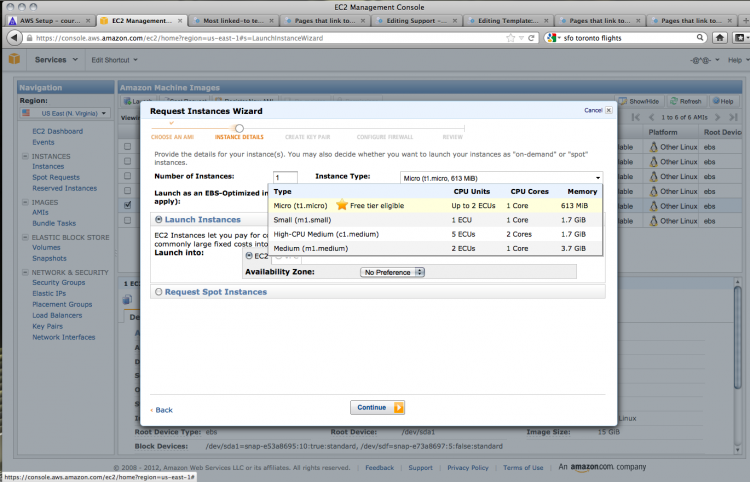
There are a number of options for your instance. You can choose the capabilities of your cloud computer; in this case, only the lowest spec computer is available for users of the free services. The defaults are fine for our purposes.
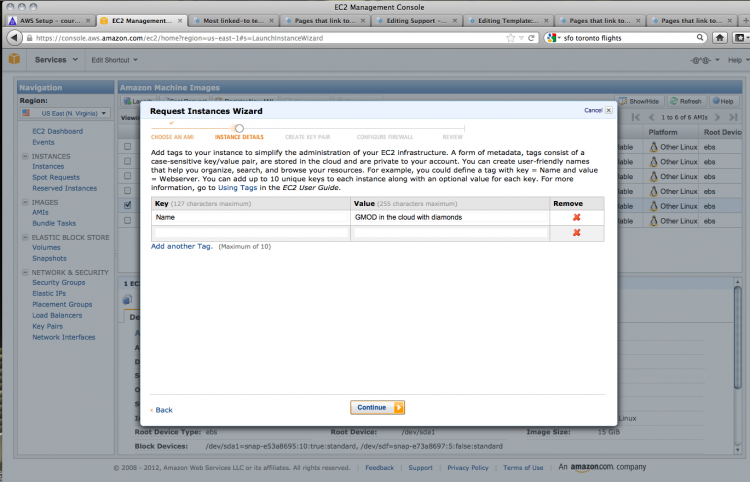
You can add information for your instance in the form of key-value pairs. Give your instance a name by adding ‘Name’ to the key field and an appropriate name in the value field.
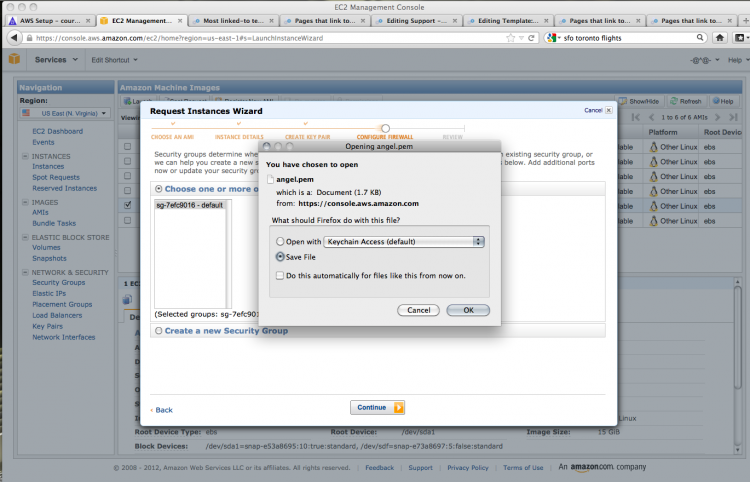
To be able to access your AMI, you’ll need to create a key pair. Choose a key word and Amazon will generate a private key for you.
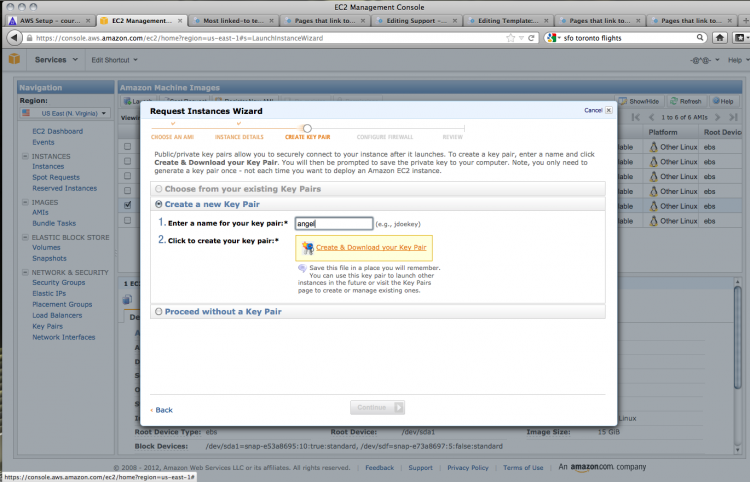
Save this to disk for later use.
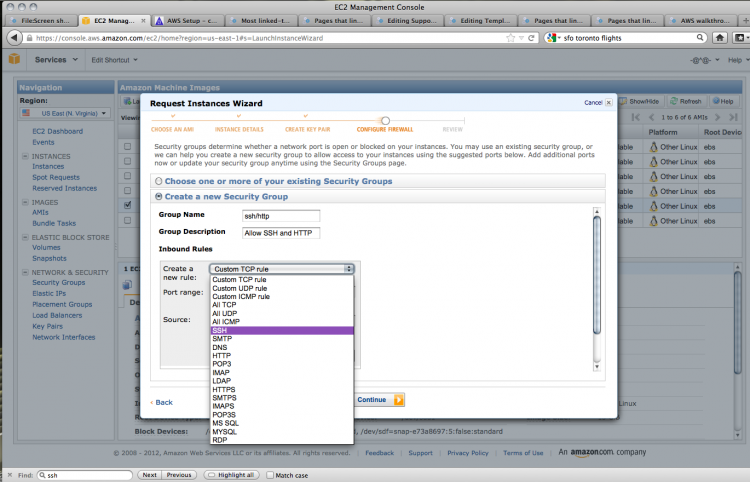
You can now configure the security options for your instance. These settings will allow you to access the AMI using various protocols.
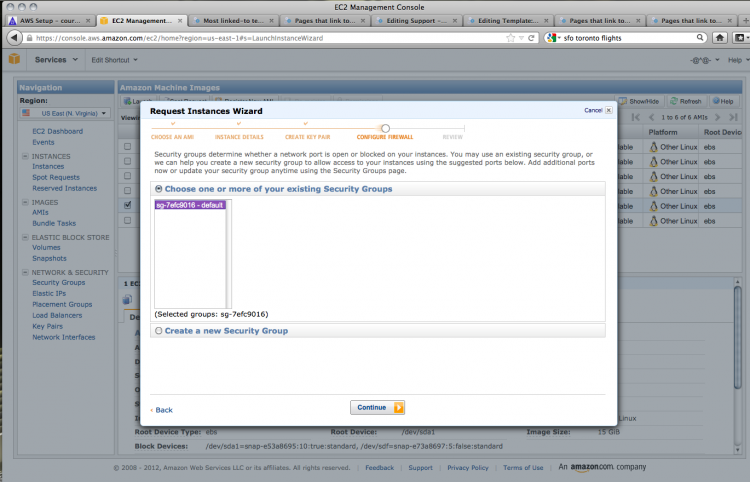
The default settings do not allow any access, but we want to use SSH (secure shell) and HTTP (standard browser-based web protocol) to get into our instance. To do this, create a new security group; give it a name and a description.
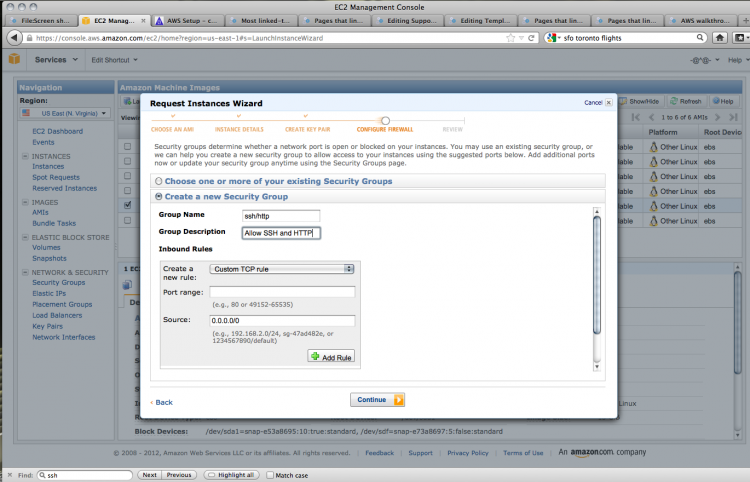
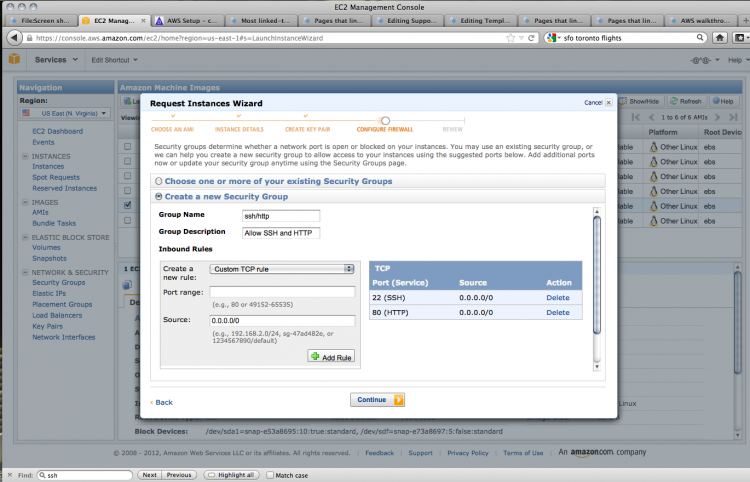
You can then add the two kinds of connections that we want to allow. Choose SSH from the drop-down menu. The source field dictates the IP addresses that can contact the instance using SSH. Unless you need to restrict access to certain IP addresses, this can be left as is.
Use Add rule to create another rule for HTTP access. Once again, choose HTTP from the drop-down menu and leave the source field as it is.
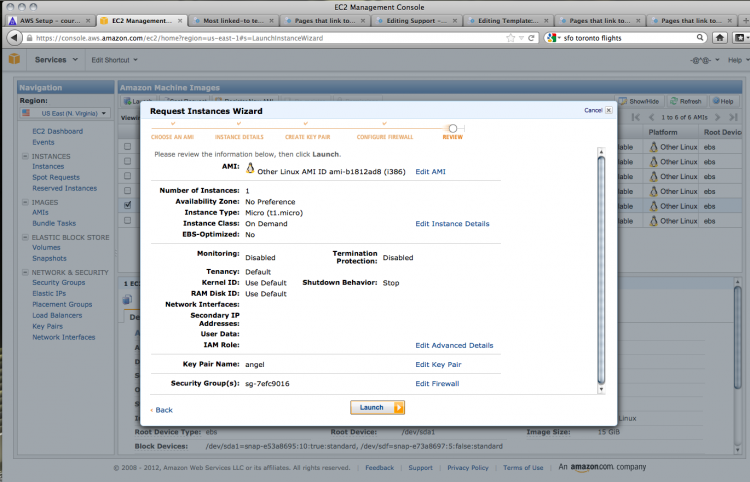
With the security settings done, we can check over our options; if all looks well, click launch!
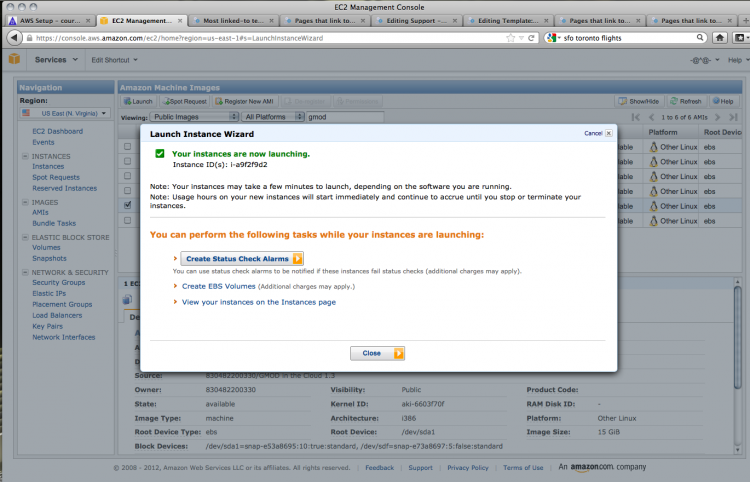
Houston, we have blast off!
Setting Up Security Post-Launch
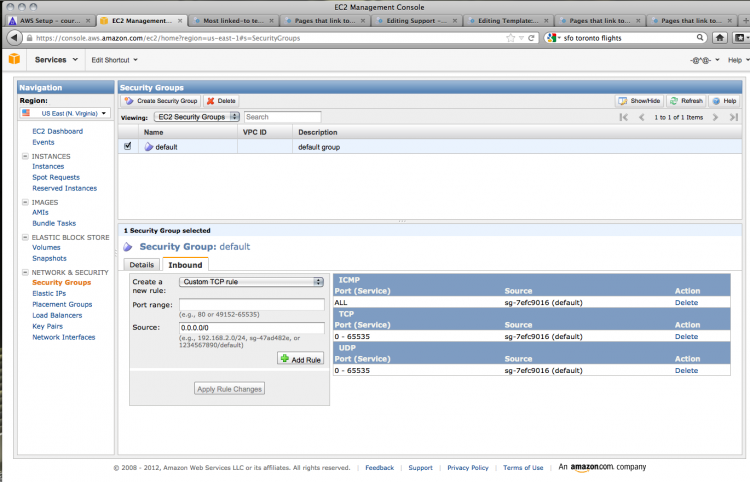
AMI also allows you to set the security and access options for your instances after you’ve launched them (security settings can be changed on the fly). We want to set up GMOD in the cloud for SSH and HTTP access (for securely accessing the instance and for web access). Click on Security Groups, highlight the default security setting, and click on Incoming to view the connections that are allowed. The default settings are very restrictive, with no incoming HTTP or SSH connections permitted.
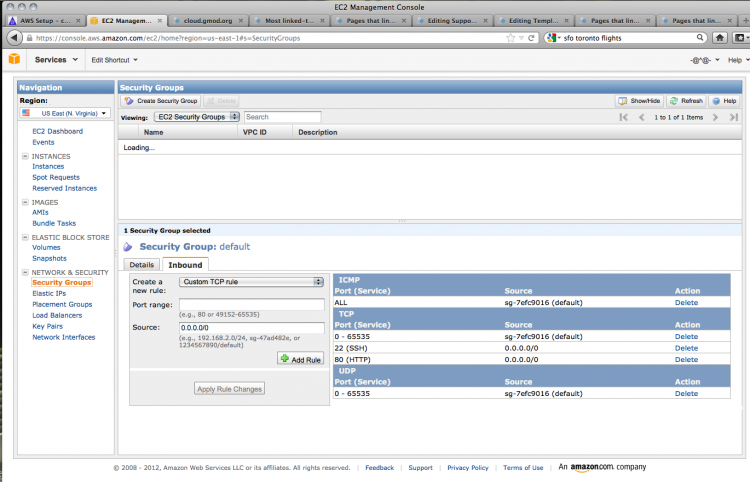
Add SSH access by choosing SSH from the dropdown menu. Do not specify the source unless you wish to limit the IP addresses from which you can ssh to your instance. Click Add rule.

We also need to access the instance by http (i.e. using a web browser). Add this rule by choosing HTTP from the dropdown menu and leaving the source blank. Click Apply rule changes to save these rules.
Working in the Cloud
Instance Access
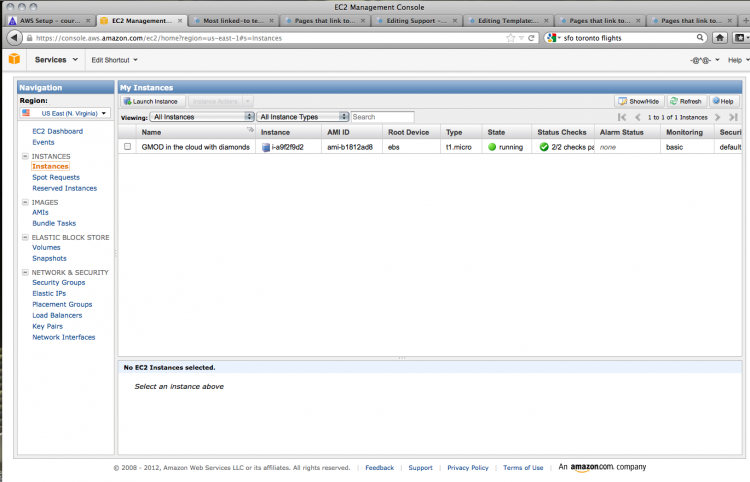
We can now test out our instance. Clicking on Instances shows us the list of all the instances we have running.
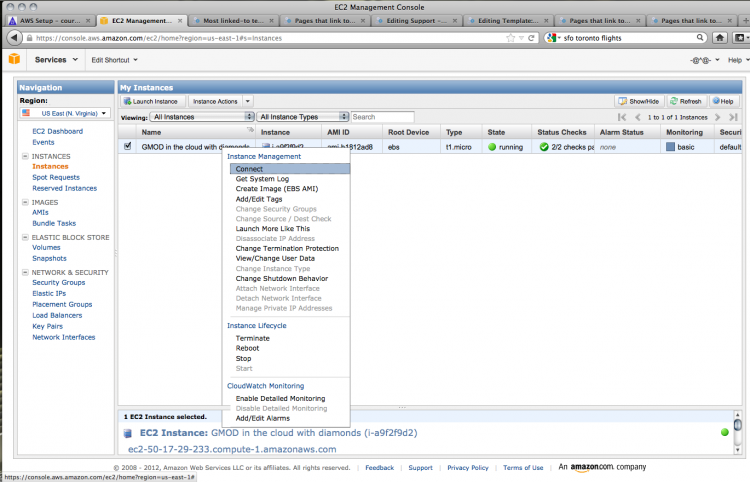
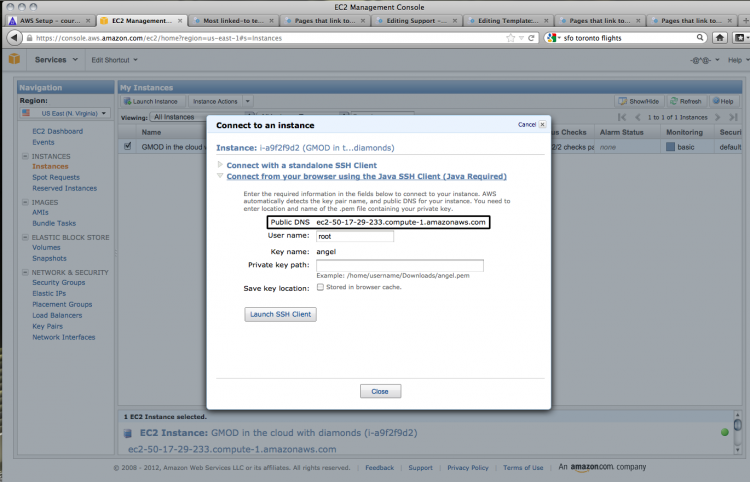
Go to the instance and right-click to bring up a contextual menu. Choose Connect.
We can test the HTTP connection using the information from the dialogue box that comes up. Copy the public DNS address, found under the open heading Connect from your browser using the Java SSH Client (Java Required).
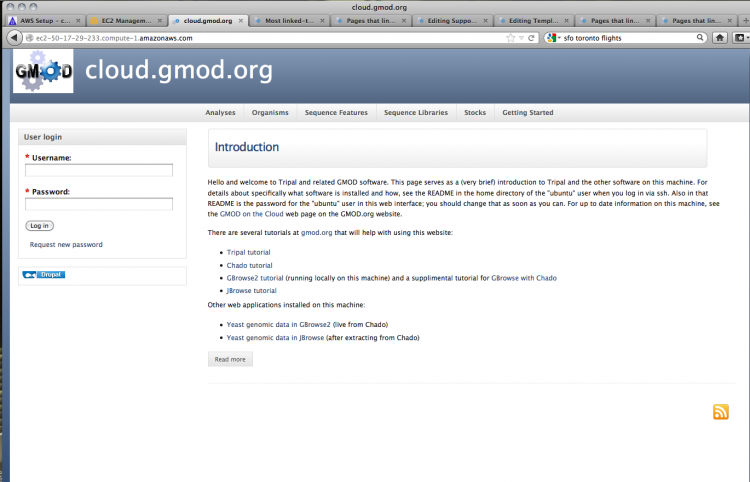
Open that address in a new browser window. If everything has gone correctly, you should see the following screen:
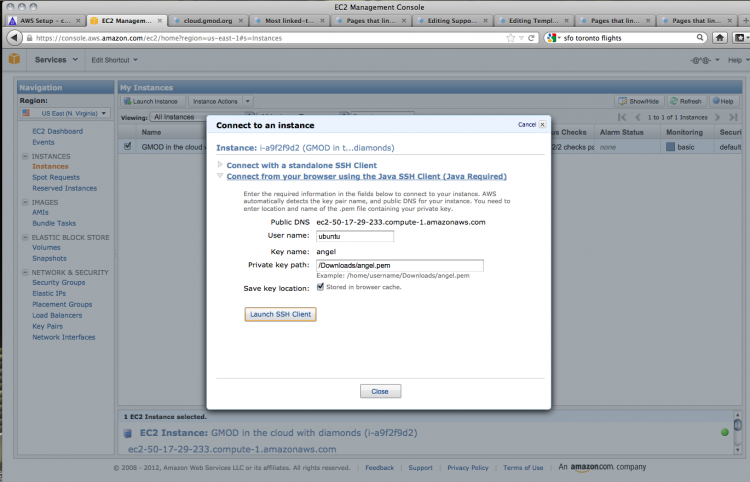
Now let’s check the SSH connection. You can do this through your browser using the built-in Java client. You will need to change the user name to ubuntu and set the private key path to the location where you saved the private key that was generated earlier. Click Launch SSH Client to get connected.
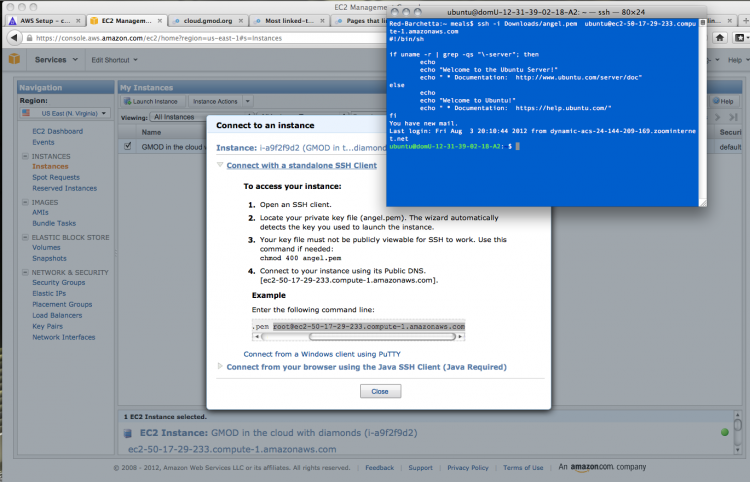
Most bioinformaticists worth their salt prefer a nice command line option, so click on Connect with a standalone SSH client to view the connection information. The first task is to change the file access permissions on the downloaded private key file.

As with the Java browser-based SSH client, you’ll need to change the user name from root to ubuntu. Copy the command given, substituting in the correct path to your private key file and the user name ubuntu.
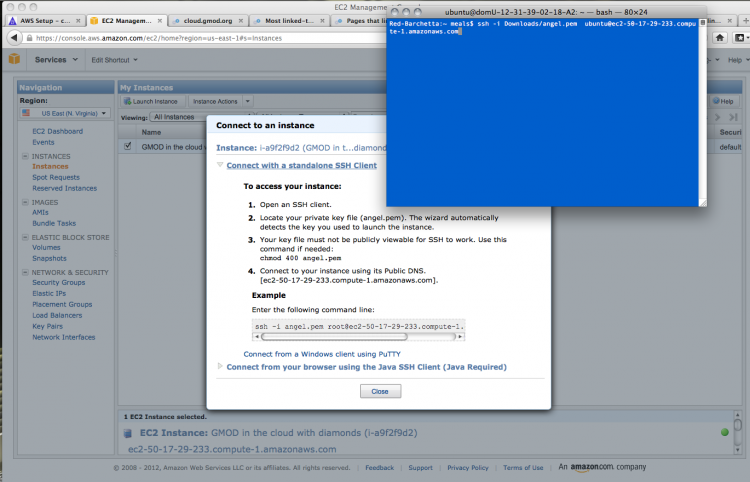
If all goes well, you should log in to the server and get a welcome message:
Leaving the Cloud
Now that the instance is up and running, what can we do with it? Let’s shut it down again! This can be achieved in a number of different ways, depending on what we want to happen to the server once we’ve stopped it.
Stop an instance: instance shuts down; changes are saved; instance stays in list of instances.
Terminate an instance: instance shuts down; changes discarded; instance removed from list of instances.
Using sudo /sbin/shudown: depends on the configuration; for GMOD in
the Cloud, the default is the stop behaviour above.
Unless you have a reserved IP address for your instance, you will lose the IP address associated with your GMOD in the Cloud installation when you stop the machine.
Shutting Down
To stop an instance from the command line, type the following:
sudo /sbin/shutdown now
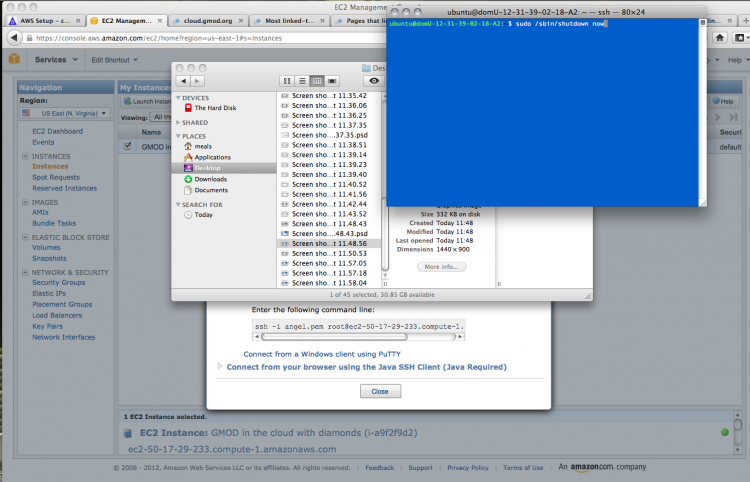
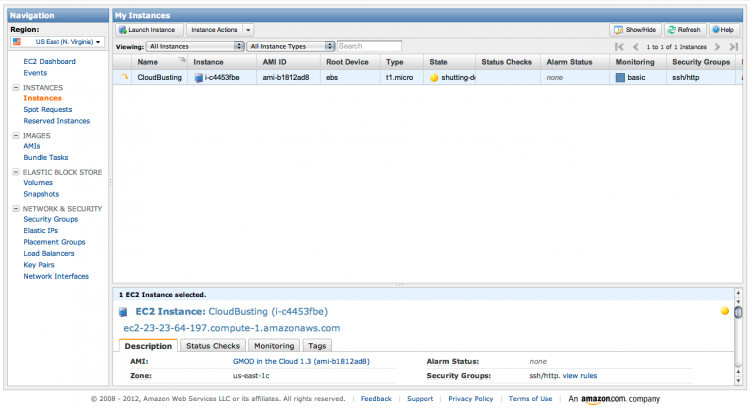
Your instance will start shutting down and your connection with be terminated.

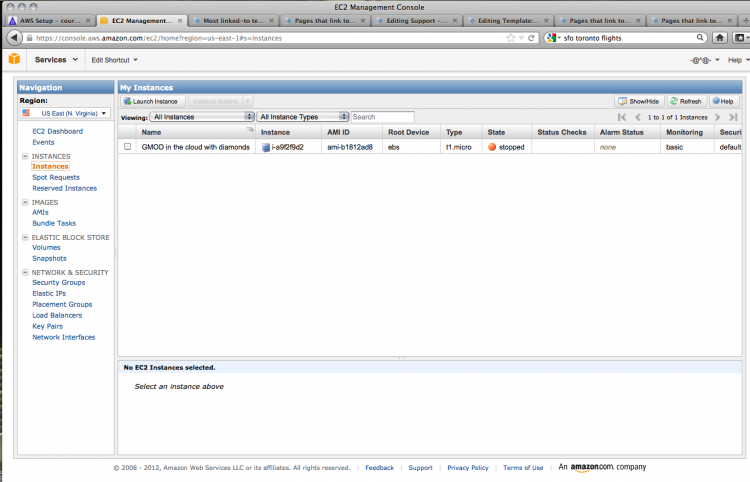
If you return to the Instances window in your browser, your instance will change to the status stopped.
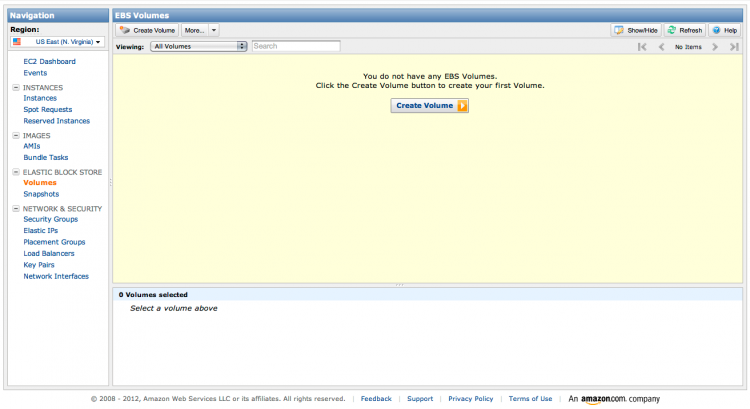
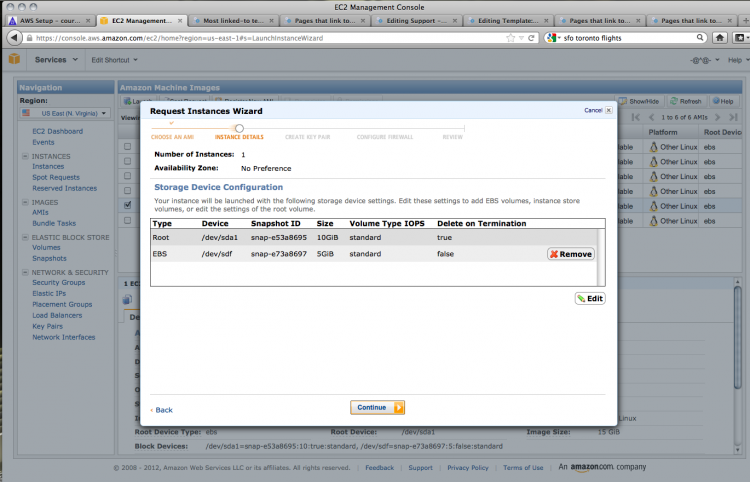
Volume Deletion
Every GMOD in the Cloud instance uses two volumes (disks), one for applications and the other for data.
As these screenshot suggest, only the Root volume is deleted when you shut down your AMI.
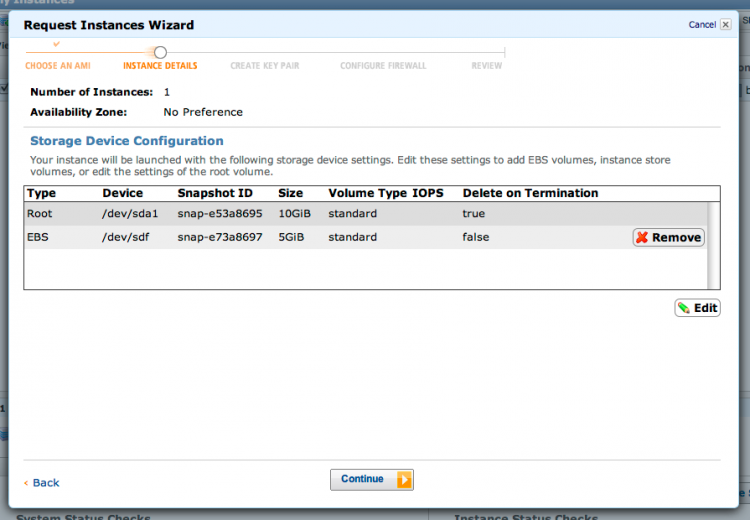
Amazon charges for data storage, so unless you need to keep the data on the Amazon servers, it is best to transfer the data elsewhere and delete the volume.
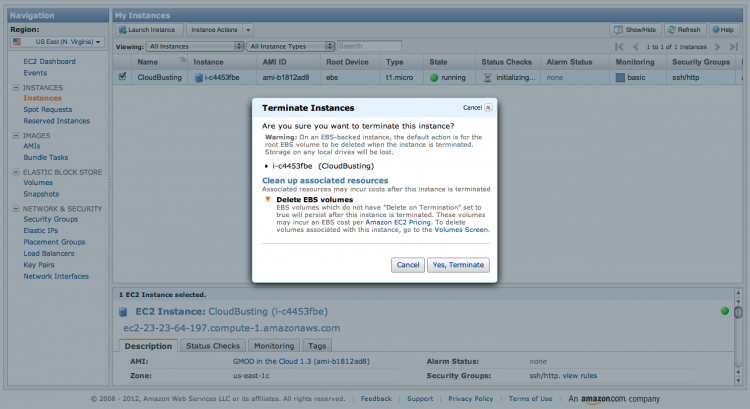
Terminate your instance by choosing Terminate from Instance Actions or by right-/command-clicking on the instance name and selecting Terminate from the menu.
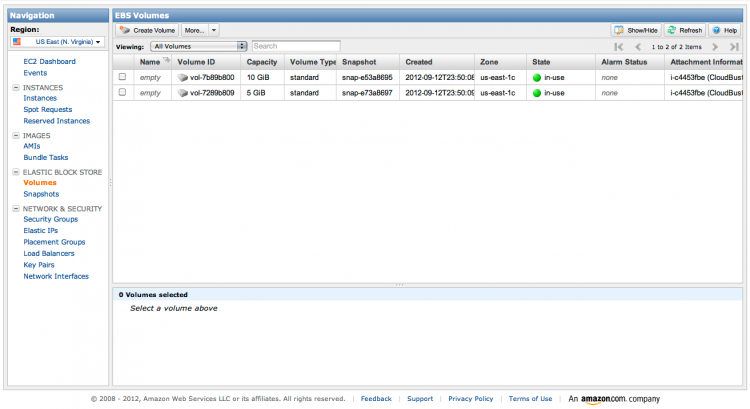
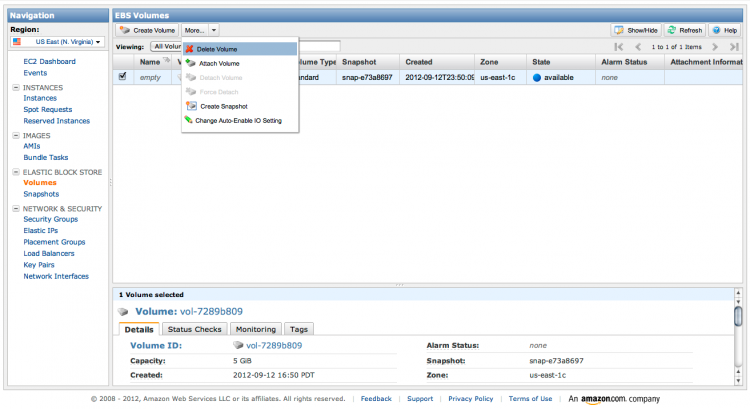
When the instance has terminated, click on Volumes. The Root volume has been deleted but EBS volume remains. Its status is available as it is no longer in use by the instance.

To delete the volume, select it and either choose Delete volume or right-/command-click on the volume name and select Delete.
All done!